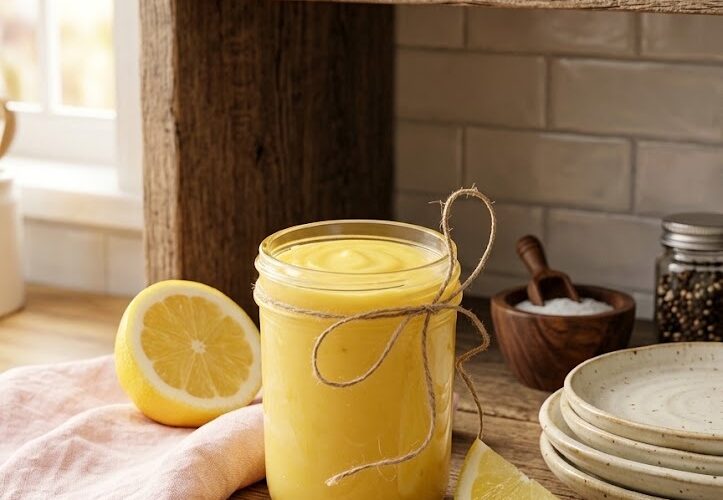
Homemade lemon curd is a simple, bright, and creamy spread made with fresh lemons, egg yolks, sugar, and butter. It has a smooth texture and a balanced combination of sweet and tart flavors that makes it useful in many different desserts and breakfast dishes. This easy lemon curd recipe requires only a handful of ingredients and a little patience on the stove, making it an excellent homemade alternative to store-bought lemon spreads.
Fresh lemon juice and lemon zest give this curd its unmistakable citrus flavor, while egg yolks help create its rich, custard-like consistency. Sugar softens the sharpness of the lemon without hiding its refreshing taste, and cold butter added at the end gives the finished curd a glossy, silky texture. When properly cooked and cooled, the mixture becomes thick enough to spread, pipe, layer, or spoon over your favorite desserts.
Why Make Lemon Curd at Home?
There is something especially satisfying about making lemon curd from scratch. The process is straightforward, and the difference in freshness is easy to notice. Freshly grated lemon zest contains aromatic oils that bring a much stronger citrus fragrance to the mixture, while freshly squeezed lemon juice provides a clean, vibrant flavor. The finished curd tastes fresh rather than overly sweet, making it particularly enjoyable in desserts where a little acidity is needed.
Another advantage is its versatility. A jar of homemade lemon curd can become the starting point for many different recipes. Spread it over toast, scones, pancakes, waffles, or biscuits for breakfast, or use it as a filling between cake layers. It also works beautifully with cupcakes, tarts, meringues, cheesecake, and buttercream. Because the flavor is concentrated, even a small amount can add plenty of lemon flavor to a dessert.
What Makes This Lemon Curd Smooth and Creamy?
The texture of lemon curd depends largely on how it is heated and when the butter is added. The egg yolks thicken the mixture as they gently cook, but excessive heat can cause them to scramble. For that reason, the mixture should be cooked over low heat while being stirred constantly. Slow, controlled heating allows the eggs to thicken the lemon mixture gradually and creates the smooth consistency associated with good lemon curd.
Cold butter is added after the saucepan has been removed from the heat. This final addition is important because the butter melts into the warm curd and creates a rich, silky finish. It also helps give the curd a beautifully smooth mouthfeel. Once refrigerated, the mixture becomes considerably thicker, so the curd may appear slightly softer while it is still warm than it will be after several hours of chilling.
Choosing Fresh Lemons
Fresh lemons are the key ingredient for achieving a bright homemade lemon flavor. Since this recipe uses both lemon zest and lemon juice, choose lemons with clean, fragrant skins and plenty of juice. Before zesting, wash the lemons thoroughly and dry them. A fine grater or microplane works particularly well because it removes the colorful outer layer without taking too much of the bitter white pith underneath.
After zesting, juice the lemons and strain the liquid to remove seeds and larger pieces of pulp. Straining the juice makes the preparation easier and helps maintain the smooth texture of the finished curd. The recipe calls for seven tablespoons of lemon juice, so measuring the juice rather than simply estimating it is useful for keeping the flavor consistent.
Preparing the Lemon Zest and Sugar
Begin by removing the zest from two lemons. The zest contains natural citrus oils that contribute a powerful lemon aroma, and combining it with the sugar can help release those oils. If a food processor is available, briefly pulsing the lemon zest and sugar together is an optional way to distribute the zest throughout the sugar. This step is not essential, but it can add an extra layer of lemon fragrance to the curd.
If you do not want to use a food processor, simply combine the zest and sugar during the regular mixing process. The important point is to make sure the zest is evenly incorporated. Finely grated zest is preferable because larger pieces can make the final mixture less uniform. For an exceptionally smooth lemon curd, the completed mixture can also be strained before it is transferred to its storage container.
Preparing the Egg Yolks
The egg yolks provide much of the structure and richness in this recipe. Separating the eggs carefully helps prevent unwanted egg white from entering the mixture. The yolks are strained into a saucepan before being lightly beaten with a wire whisk. Straining the yolks is an extra step, but it can help create a particularly smooth final texture by removing any small pieces of chalaza or unwanted egg material.
Once the yolks are in the saucepan, whisk them lightly rather than whipping them aggressively. Add the sugar and mix until the yolk mixture becomes lighter in color. The goal is to combine the ingredients evenly before introducing the lemon juice. Gradually adding the juice helps create a uniform mixture and makes the cooking process easier to control.
Cooking the Lemon Curd
The cooking stage is the most important part of the recipe. Place the saucepan over low heat and stir constantly with a wire whisk. Gentle heat allows the egg yolks to thicken the mixture without cooking too quickly. As the curd warms, it will gradually become thicker. Continue stirring until the mixture begins to bubble lightly and is thick enough to coat the back of a wooden spoon.
Do not rush this stage by turning the heat up too high. High heat can cause the eggs to cook unevenly, resulting in small cooked pieces rather than the smooth custard texture you want. Constant stirring also helps distribute the heat throughout the saucepan and prevents the mixture from sticking to the bottom. The process only takes about ten minutes, so staying beside the stove is worthwhile.
Adding the Cold Butter
Once the lemon mixture has thickened and just started to bubble, remove the saucepan from the heat. The cold butter should be cut into cubes before being added. Stir the butter into the warm curd until every piece has completely melted and the mixture becomes smooth and glossy. This simple finishing technique is responsible for much of the luxurious texture associated with homemade lemon curd.
The butter also balances the acidity of the lemon and contributes richness without making the curd excessively heavy. Keep stirring until there are no visible pieces of butter remaining. The result should look creamy, shiny, and evenly blended. At this point, the lemon curd is ready for optional straining before it is placed into a container for cooling.
Straining for an Extra-Smooth Finish
Straining the finished lemon curd is optional, but it can be useful if you want an exceptionally smooth spread. Even when the mixture has been prepared carefully, tiny pieces of lemon zest or cooked egg may occasionally remain. Passing the warm curd through a fine-mesh strainer removes these pieces and leaves behind a remarkably smooth texture.
To strain it, place a fine strainer over a clean bowl and carefully pour the warm curd through it. Use a spoon or spatula to help move the mixture through the strainer if necessary. Once strained, the curd can be transferred directly into a clean, sealable container. This extra step is especially useful when the curd will be used as a cake filling or in a dessert where a completely smooth texture is important.
Cooling Homemade Lemon Curd
Freshly cooked lemon curd is much softer than chilled lemon curd, so do not judge the final consistency immediately after cooking. Transfer the mixture to a suitable bowl or sealable container and allow it to cool. If using a bowl, cover the surface directly with plastic wrap to help prevent a skin from forming while it cools.
The curd needs approximately two hours of cooling time, although chilling it longer can make it easier to work with. Once refrigerated, the butter and egg-based mixture firms up considerably. For cakes, cupcakes, or other desserts that require a stable filling, allowing the curd to become completely cold before using it is particularly important.
How to Use Lemon Curd
There are countless ways to enjoy homemade lemon curd. For a quick breakfast, spread it over toast, warm biscuits, scones, pancakes, or waffles. Its sweet-tart flavor can brighten simple baked goods without requiring an elaborate topping. It can also be spooned over yogurt, layered into parfaits, or served alongside fresh fruit for an easy dessert.
Lemon curd is equally useful for baking. Use it between cake layers, spread it inside cupcakes, or incorporate it into buttercream for a fresh citrus flavor. It can also be used to fill tart shells or served over meringues. Because lemon curd is rich and flavorful, you generally only need a modest amount to make a noticeable difference.
Lemon Curd for Cakes and Cupcakes
When using lemon curd as a cake or cupcake filling, make sure it has been completely chilled first. Warm curd will be too loose and may spread beyond the edges of the cake. Cold curd has a thicker consistency that makes it much easier to spread between layers or pipe into prepared cupcakes.
For layered desserts, lemon curd pairs particularly well with light cakes and creamy frostings. Its citrus flavor provides contrast against sweet buttercream and rich cake, helping keep the overall dessert from tasting overly heavy. A thin layer can provide plenty of flavor, while a thicker layer creates a more pronounced lemon center.
Common Mistakes to Avoid
One of the most common mistakes when making lemon curd is using excessive heat. Since the recipe contains egg yolks, the mixture needs gentle cooking. Another mistake is stopping the cooking process too early. The curd should visibly thicken and coat the back of a wooden spoon before it is removed from the heat.
Failing to stir continuously can also create uneven cooking. Keep the whisk moving throughout the cooking stage, paying particular attention to the bottom and corners of the saucepan. Finally, avoid using the curd before it has cooled completely when a thick filling is required. Refrigeration is what gives the finished mixture its proper consistency.
Notes for the Best Homemade Lemon Curd
The finished lemon curd becomes significantly thicker after refrigeration. For this reason, complete cooling should always be taken into account when planning to use it as a filling. Preparing the curd a day or two ahead can be convenient because it gives the mixture enough time to chill completely without creating a last-minute preparation problem.
For storage, keep the cooled lemon curd in an airtight container in the refrigerator. It can be refrigerated for up to one week. Once the curd has cooled completely, plastic wrap does not need to remain pressed directly against its surface if the container has a secure airtight lid.
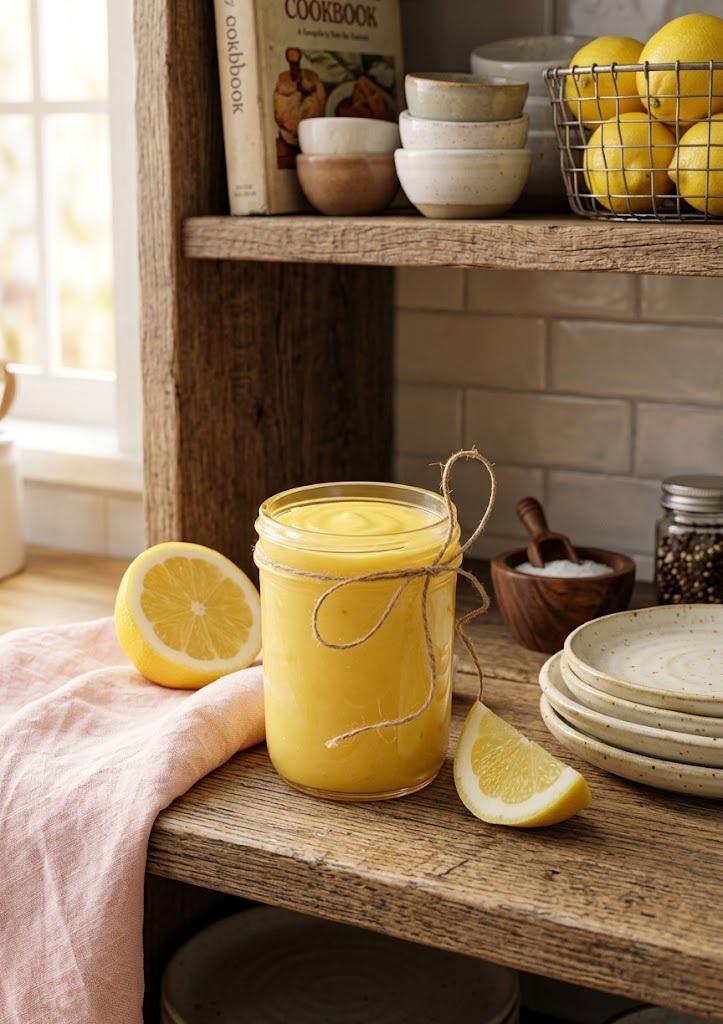
Lemon Curd
 Recipe by admin1
A smooth, creamy, sweet and tangy homemade lemon curd made with fresh lemon zest, lemon juice, egg yolks, sugar, and cold butter.
2
servings15
minutes10
minutes1307
kcal2
hours2
hours25
minutesIngredients
1 cup granulated sugar (200g)
2 tablespoons lemon zest (from 2 lemons)
6 large egg yolks
7 tablespoons lemon juice (100mL)
½ cup butter unsalted cold (113g)
Directions
- Zest two lemons using a fine grater. If desired, pulse the lemon zest together with the sugar in a food processor to help release the natural lemon oils. This step is optional.
- Juice the lemons until you have approximately half a cup of juice. Pour the juice through a strainer to remove any seeds.
- Strain the egg yolks into a saucepan and whisk them lightly with a wire whisk.
- Add the sugar to the egg yolks and whisk until the mixture becomes lighter in color and well combined.
- Gradually stir the lemon juice into the egg mixture until everything is evenly incorporated.
- Place the saucepan over low heat. Stir continuously with a wire whisk as the mixture slowly thickens.
- Continue cooking until the lemon curd just begins to bubble and is thick enough to coat the back of a wooden spoon.
- Remove the saucepan from the heat. Add the cold butter, cut into cubes, and stir until it has completely melted into the warm curd.
- For an especially silky texture, pass the finished lemon curd through a fine strainer to remove small pieces of zest or any other solids.
- Transfer the curd to a sealable container or bowl. If using a bowl, cover the surface with plastic wrap to prevent a skin from forming. Refrigerate until completely chilled and thickened.
Nutrition Facts
- Total number of serves: 1
- Calories: 1307kcal
- Fat: 81g
- Carbohydrates: 142g
- Fiber: 1g
- Sugar: 136g
- Protein: 12g


