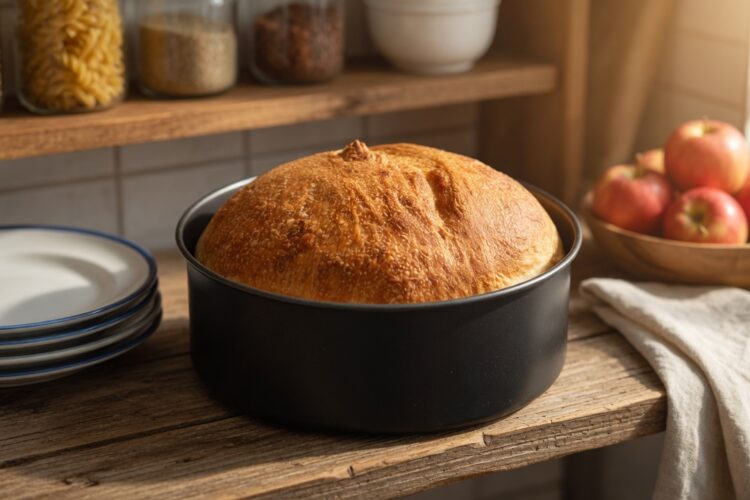
Making fresh homemade bread does not always require a large oven or complicated baking methods. This easy Air Fryer Bread recipe is a simple way to prepare a warm, freshly baked loaf with a golden crust and soft center. The air fryer provides steady circulating heat that helps the bread cook evenly while giving the outside a pleasant crisp texture.
If you are looking for an easy homemade bread recipe, this method is especially useful for beginners. The dough uses basic ingredients and does not require long kneading sessions. Once mixed and allowed to rise, the dough is shaped, placed in a suitable pan, and baked directly in the air fryer.
Why Make Bread in an Air Fryer?
An air fryer is useful for more than cooking crispy snacks and quick meals. Its circulating hot air can also bake small loaves of bread successfully. Because the appliance heats up quickly, you do not need to spend as much time waiting for a large oven to preheat before baking.
Air fryer bread can develop a nicely browned outer layer while remaining light and tender inside. The exact result may vary depending on the air fryer model and pan size, but this method offers a convenient option when you want a small homemade loaf without using a conventional oven.
This recipe is also practical during warm weather when you may prefer not to heat the entire kitchen. A compact air fryer can handle the baking process in a smaller space, making fresh bread easier to prepare for everyday meals.
A Simple No-Knead Bread Method
Traditional bread recipes often involve kneading the dough for several minutes to build structure. This recipe keeps the process simple. After combining the flour, sugar, salt, yeast, warm water, and olive oil, the ingredients are stirred together until they form a dough.
The rising time allows the yeast to work and helps create a lighter texture. During this stage, the dough expands and becomes softer. Giving the dough enough time to rise is important because it affects the texture of the finished air fryer bread.
After the first rise, the dough is gently pressed down and shaped into a round loaf. It then has a short second rise before baking. These simple steps help create bread that is easier to handle and suitable for anyone learning how to make homemade bread.
Ingredients for Homemade Air Fryer Bread
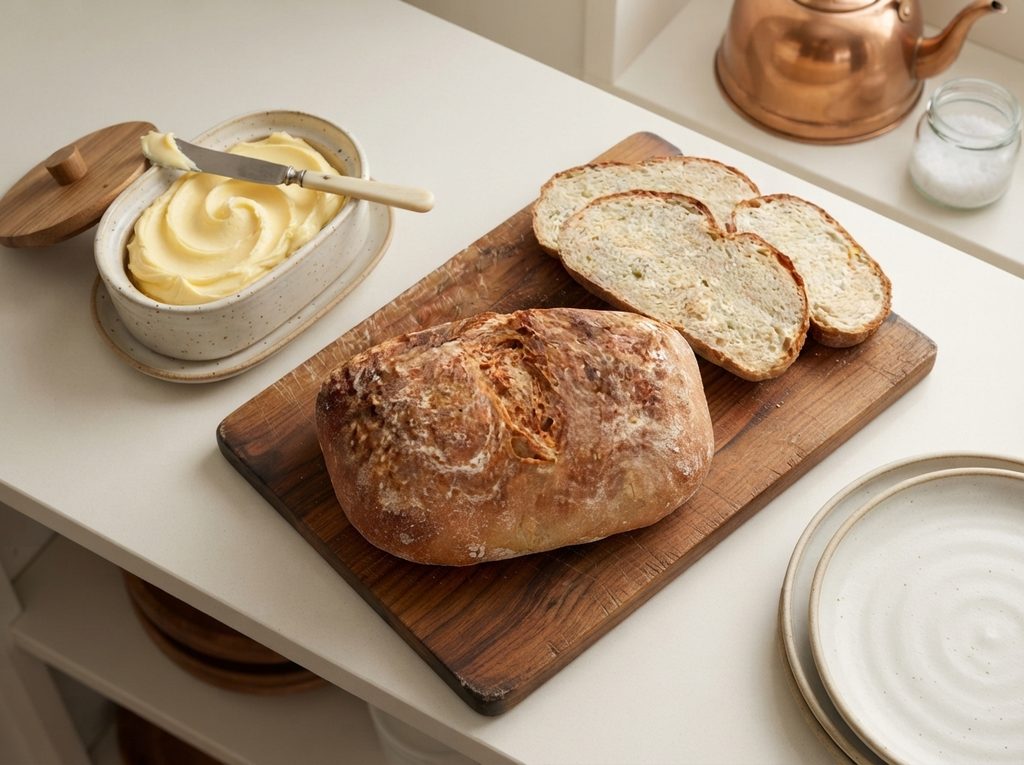
The ingredients in this recipe are simple pantry staples commonly used for yeast bread. Strong white bread flour provides the main structure of the loaf. Its higher protein content helps develop a dough that can rise well and hold its shape during baking.
Yeast helps the dough rise, while sugar supports the yeast and adds a small amount of sweetness. Salt improves the overall flavor and balances the other ingredients. Warm water brings the dough together, and olive oil adds moisture while helping create a softer texture.
A portion of the olive oil is reserved for brushing over the loaf. This light coating helps the surface brown during baking and gives the finished bread an attractive appearance. The result is a straightforward homemade bread with familiar ingredients and an easy preparation method.
How the Dough Should Look
When the ingredients are first mixed, the dough may look rough and slightly sticky. This is normal. There is no need to add extra flour unless the dough is extremely wet and impossible to manage. The moisture in the dough helps support a softer crumb after baking.
Once the dough has risen, it should look noticeably larger and feel lighter. Pressing it down after the first rise removes some of the large air pockets and makes shaping easier. Handle the dough gently when forming the round loaf.
The dough should fit comfortably inside the 7-inch pan without reaching the top. It will continue to expand during the second rise and while baking. Leaving enough room around the dough helps prevent it from coming too close to the air fryer heating element.
The Importance of Proper Rising Time
Bread dough needs time for the yeast to create gas and expand the mixture. In this recipe, the first rise takes about 1 to 2 hours, depending on the temperature of your kitchen. A warmer environment generally helps yeast dough rise faster than a cold one.
Instead of watching the clock alone, check the size of the dough. It should become approximately doubled in size before moving to the next step. If the dough has not expanded enough, allow it to continue resting until it looks properly risen.
After shaping, the dough rests again for 15 to 20 minutes. This second rise gives the loaf time to relax before baking. Skipping this step may result in a denser loaf, so it is worth allowing the dough this additional resting time.

Choosing the Right Pan for Air Fryer Bread
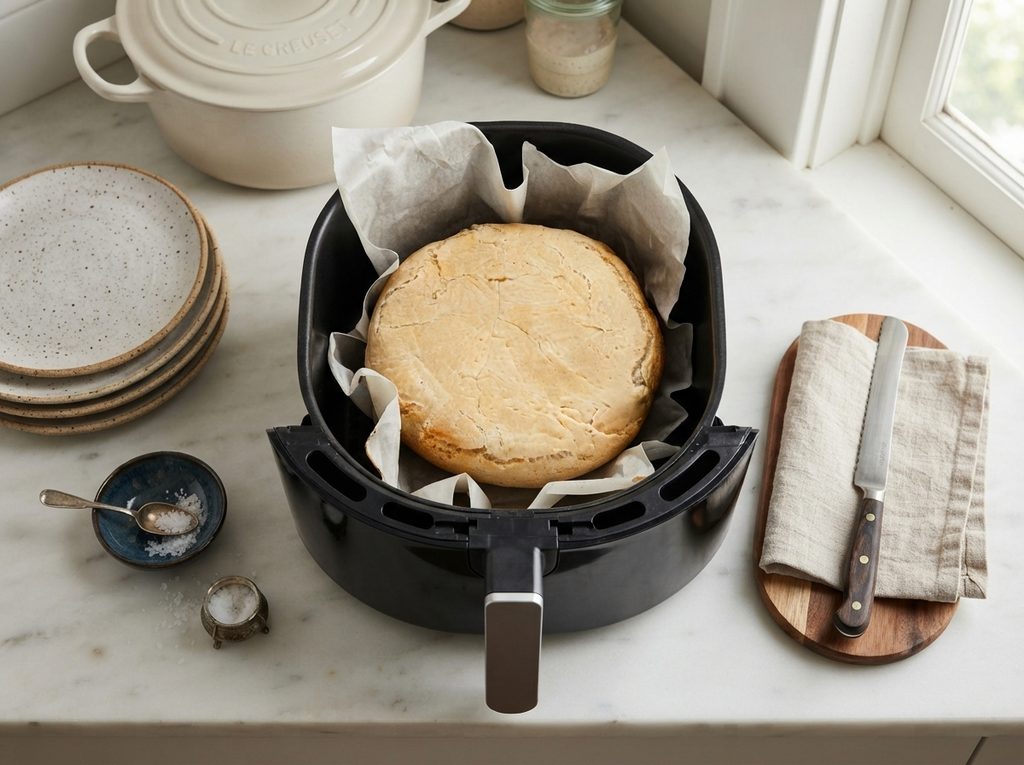
Before preparing the dough, check that your 7-inch pan fits safely inside your air fryer basket. There should be enough space for air to circulate around the pan. A pan that is too large can block airflow and affect how evenly the bread cooks.
Height is equally important. Bread dough rises as it bakes, so make sure there is enough clearance between the top of the dough and the heating element. This helps prevent the top from browning too quickly or touching the upper part of the appliance.
Lightly oiling the pan before adding the shaped dough makes removal easier after baking. Allow the bread to cool slightly before taking it out, especially if the loaf is delicate when first removed from the hot pan.
How to Bake Bread in an Air Fryer
Preheating the air fryer for 5 minutes helps create a hot baking environment before the bread goes inside. The loaf begins baking at 200°C (400°F), which helps the surface start developing color and structure.
After the initial baking period, the temperature is reduced to 170°C (350°F). Lowering the heat allows the inside of the loaf to continue cooking without making the outside too dark too quickly. This two-temperature method helps balance browning and internal baking.
Air fryer models can vary, so it is helpful to check the bread near the end of the cooking time. The finished loaf should have a golden crust and should sound hollow when tapped on the bottom. Let it cool on a rack before slicing.
What Makes This Air Fryer Bread Easy?
This easy air fryer bread recipe does not require special equipment such as a stand mixer or bread machine. A mixing bowl, spoon, suitable pan, and air fryer are enough to prepare the recipe. That makes it accessible for many home kitchens.
The ingredient list is also short and familiar. There are no unusual additions or complicated techniques. Each step follows a basic bread-making process, from mixing and rising to shaping and baking.
The method is simple enough for beginners while still producing a useful everyday loaf. Whether you are trying homemade bread for the first time or simply want a smaller baking option, this air fryer method can fit easily into your cooking routine.
Serving Ideas for Fresh Air Fryer Bread
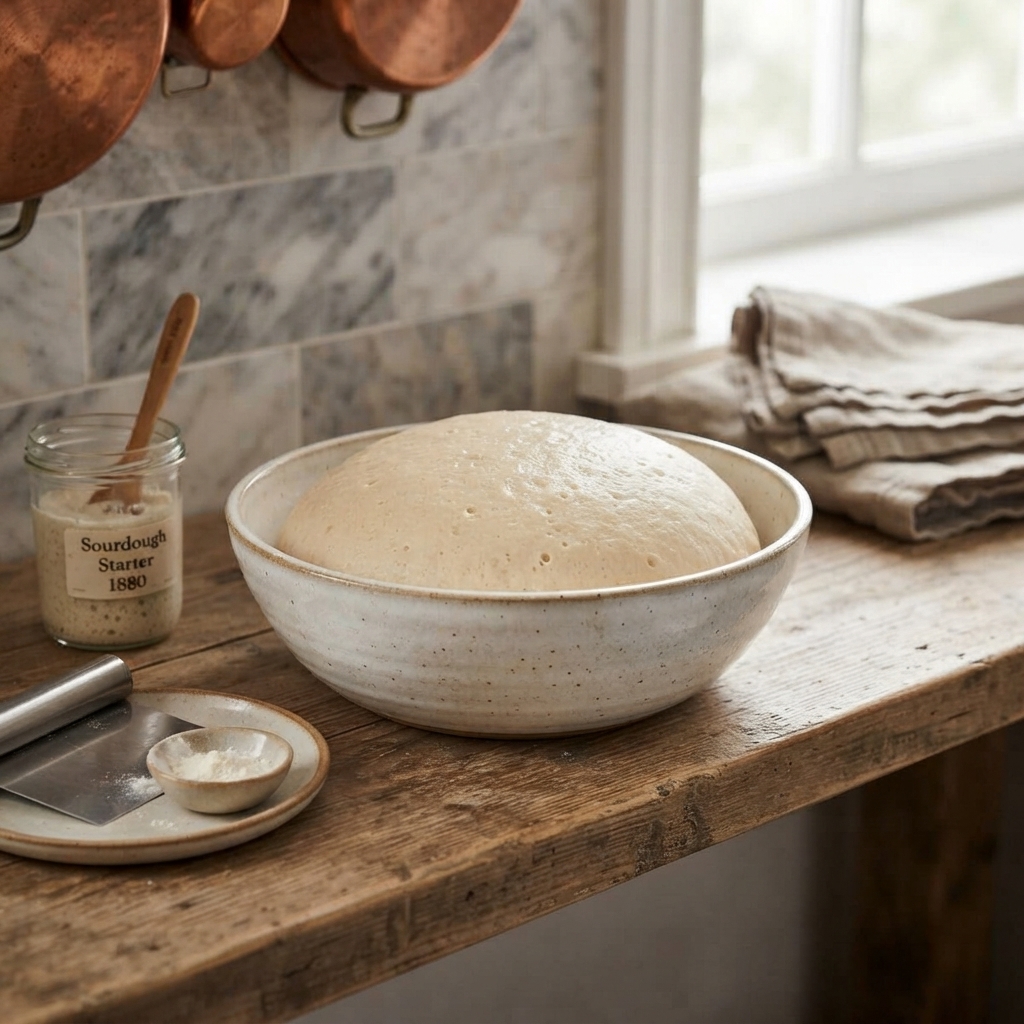
Freshly baked bread is enjoyable on its own, especially when served warm. Slice the loaf and spread it with butter for a simple breakfast or snack. The soft interior also makes it suitable for toast after the bread has cooled.
You can use the slices to make sandwiches for lunch or serve the bread alongside eggs and other breakfast foods. Its mild flavor works well with both sweet and savory toppings, giving you plenty of serving options.
Air fryer bread also pairs well with soups, stews, and salads. A warm slice can be used for dipping into broth or served beside a main meal. Leftover bread can also be toasted and cut into cubes for homemade croutons.
Using Leftover Bread
Day-old bread can still be useful even when it is no longer as soft as it was immediately after baking. Toasting slices is one easy way to refresh the texture. You can also warm individual portions briefly in the air fryer.
For croutons, cut leftover bread into small cubes and toast them until dry and crisp. They can be added to salads or soups. The bread may also be used for sandwiches, depending on how much moisture it has retained.
Slicing the entire loaf before storing can make leftovers easier to use. You can remove only the number of slices needed instead of repeatedly cutting into the whole loaf. This is particularly helpful when freezing portions for later.
Storage and Keeping Bread Fresh
Allow the bread to cool completely before storing it. Putting warm bread into an airtight container can trap steam and make the crust soft. Once cool, keep the loaf in an airtight container or bread bag at room temperature.
The bread can be stored at room temperature for 2 to 3 days. Keep it away from excessive heat and moisture to help maintain its texture. Refrigeration is another option, although bread may become firmer when chilled.
For longer storage, freezing is a practical choice. Slice the loaf before freezing so individual portions are easier to remove. Wrap or store the bread properly to protect it from freezer exposure and use the slices as needed.
Reheating Air Fryer Bread
The air fryer can be used to warm leftover bread and bring back some of its freshly baked texture. Heat the slices for a few minutes rather than using a long cooking time. Check frequently because thin slices can toast quickly.
A whole portion of bread may need slightly more time, depending on its size and temperature. Reheating works best when the bread is warmed gently rather than exposed to very high heat for too long.
Frozen slices can be reheated when needed, making this recipe convenient for meal planning. Start with a short heating time and adjust according to your air fryer. The goal is to warm the bread without drying it excessively.
Helpful Baking Tips
For a richer finish, the reserved olive oil used for the glaze can be replaced with melted butter or ghee. Brush a small amount over the shaped dough before baking. This can change the flavor and appearance of the crust while keeping the main method the same.
If your kitchen is cold, the dough may take longer to rise. Place it in a warm location where the temperature remains steady. Some people also use an appliance with a gentle proofing or yogurt setting when appropriate for their equipment.
Always check the available height inside the air fryer before baking. The dough should have enough room to rise without getting too close to the heating element. A correctly sized pan makes the process safer and helps the bread bake more evenly.
Checking When the Bread Is Fully Baked
Color alone does not always tell you whether bread is fully cooked because the top may brown before the center finishes baking. The loaf should have a firm, golden exterior and should sound hollow when tapped on the bottom.
If you are unsure, allow the bread to bake for the recommended time while monitoring the crust. Every air fryer can heat slightly differently, so minor adjustments may be needed depending on your appliance and the pan you use.
Cooling is also part of the bread-making process. Let the loaf rest on a cooling rack before slicing so the interior can settle. Cutting into very hot bread may make the crumb appear sticky or compressed.

Air Fryer Bread
 Recipe by dishes.healthofficialtips.com
Enjoy bakery quality bread made effortlessly in the air fryer. This no knead bread comes out with a golden, crusty exterior and a soft, airy inside perfect for breakfast, snacks, or any meal.
4
servings10
minutes25
minutes35
minutesIngredients
3 cups strong white bread flour (390 g)
1 teaspoon sugar
1 teaspoon salt
2 ¼ teaspoons yeast
¼ cup olive oil (reserve 1 tbsp for glaze)
1 ½ cups warm water
Directions
- In a mixing bowl, combine flour, sugar, salt, and yeast.
- Add warm water and olive oil (reserve 1 tbsp for glaze). Stir until dough forms.
- Place dough in a lightly oiled bowl, cover, and let rise for 1–2 hours or until doubled.
- Punch down the dough, then place on a floured surface. Shape into a ball.
- Transfer to an oiled 7-inch pan. Let rise again for 15–20 minutes.
- Brush with reserved oil and score the top if desired.
- Preheat air fryer to 200°C (400°F) for 5 minutes.
- Bake at 200°C (400°F) for 10 minutes, then reduce to 170°C (350°F) and bake for 20 minutes more.
- Bread is ready when crust is golden and loaf sounds hollow when tapped.
- Cool on a rack before slicing.
Notes
- Substitute melted butter or ghee for glaze for a richer flavor.
- Ensure your pan fits the air fryer basket comfortably.
- Store leftovers in an airtight container for up to 3 days or freeze for longer storage.


