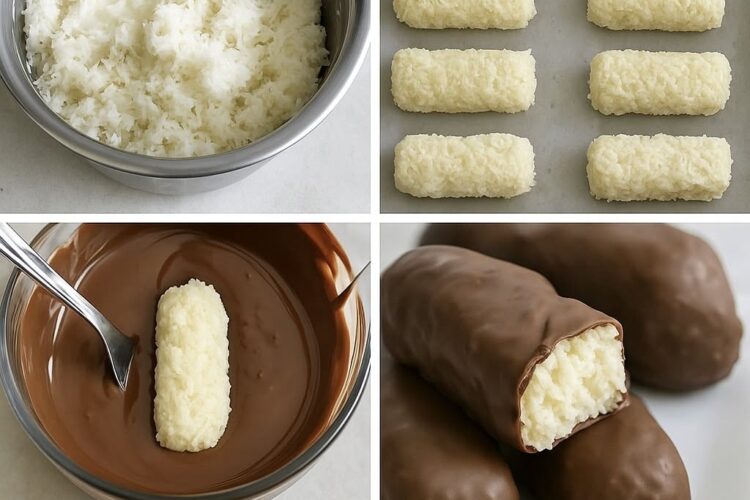
Homemade Bounty Bars are one of the easiest chocolate coconut treats you can prepare at home. With just three ingredients, you can create soft, sweet coconut centers covered in a smooth layer of chocolate. This simple no-bake candy recipe is perfect when you want something homemade without spending hours in the kitchen.
The combination of shredded coconut, sweetened condensed milk, and chocolate creates a familiar candy-bar flavor with a fresh homemade touch.
Why Make Homemade Bounty Bars?
Making homemade candy bars at home is surprisingly simple, especially when the recipe requires only three ingredients. There is no complicated baking process, no special equipment, and no long list of ingredients to measure. The coconut mixture comes together in minutes, and after a short time in the freezer, the bars are ready to coat with melted chocolate. The result is a delicious chocolate coconut treat that works beautifully as a snack, dessert, party sweet, or homemade gift.
One of the best things about this homemade Bounty Bar recipe is how closely the texture and flavor match the classic combination many people enjoy. The coconut center is soft, sweet, and slightly chewy, while the chocolate coating provides a rich outer layer that firms up as it sets. The contrast between the tender coconut filling and the crisp chocolate shell makes every bite satisfying. If you enjoy chocolate-covered coconut candy, this easy recipe is definitely worth trying.
What Are Homemade Bounty Bars?
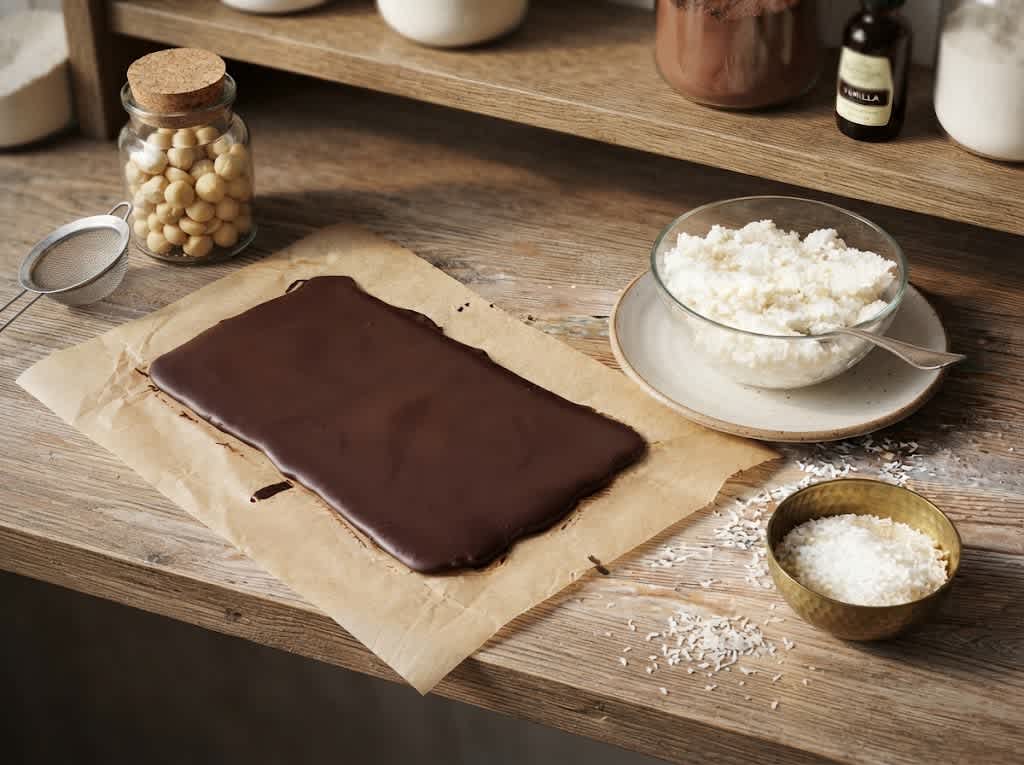
Bounty Bars are traditionally associated with a sweet coconut filling covered in chocolate. This homemade version follows the same basic idea but simplifies the process considerably. Instead of preparing a complicated candy mixture, you combine unsweetened shredded coconut with sweetened condensed milk to form a thick paste. The mixture is shaped into small rectangles, chilled, and then dipped into melted chocolate.
The same homemade coconut center can also be used to create a Mounds-style candy. The main difference comes from the chocolate used for the coating. Milk chocolate gives the finished bars a sweeter, creamier taste that resembles a traditional Bounty-style candy bar, while dark chocolate produces a deeper and more intense chocolate flavor. This makes the recipe easy to adapt while keeping the basic preparation exactly the same.
The Three Ingredients You Need
The simplicity of these homemade chocolate coconut bars comes from the short ingredient list. Unsweetened shredded coconut forms the main body of the filling and provides the chewy texture associated with coconut candy. Sweetened condensed milk binds the coconut together while adding sweetness and richness. Finally, semisweet chocolate creates the smooth outer coating that turns the coconut mixture into a proper homemade candy bar.
It is important to use the ingredients as listed because each one has a specific role in the recipe. The unsweetened coconut balances the sweetness of the condensed milk and chocolate, while the condensed milk gives the coconut enough moisture to hold together. The semisweet chocolate provides a rich coating without making the entire dessert excessively sweet. Together, these three ingredients create a straightforward homemade candy recipe with very little preparation.
How to Make the Coconut Filling
Start by placing the unsweetened shredded coconut and sweetened condensed milk into a medium bowl. Mix them thoroughly until they form a thick and sticky paste. The mixture should hold together when pressed rather than feeling loose or crumbly. Because the coconut absorbs some of the moisture from the condensed milk, the mixture becomes suitable for shaping after it has been combined well.
Once the coconut mixture is ready, use your hands to form small rectangular bars. Press the mixture firmly as you shape each piece so that it holds its structure. The coconut filling can naturally be a little sticky, so there is no need to worry if it does not feel perfectly smooth. After making three or four rectangles, wash your hands and leave them slightly damp instead of drying them completely. This helps prevent the coconut mixture from sticking excessively to your fingers.
Why Chilling the Bars Matters
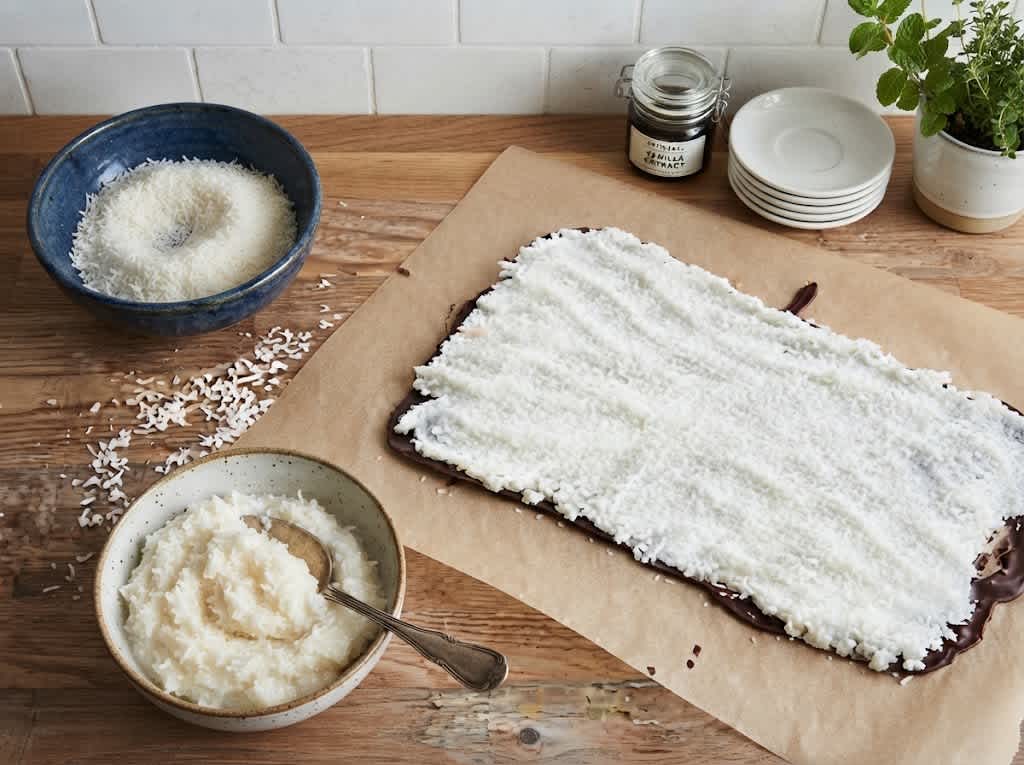
Place the shaped coconut rectangles onto a baking sheet lined with parchment paper. Transfer the tray to the freezer for about 20 minutes. This short chilling period is an important part of the recipe because the cold temperature helps the coconut centers become firmer. A firm filling is much easier to handle when it is dipped into melted chocolate.
Skipping the chilling step can make the dipping process considerably messier. Soft coconut centers may lose their shape when they come into contact with warm melted chocolate. Freezing the bars briefly gives them enough stability to be lifted, dipped, and coated without falling apart. If you prefer to work slowly while coating the candy, you can leave most of the coconut bars in the freezer and remove them one at a time.
How to Melt the Chocolate
While the coconut bars are chilling, prepare the chocolate coating. Cut the semisweet chocolate into smaller pieces so that it melts more evenly. Place two-thirds of the chocolate into a microwave-safe bowl. Microwave it at medium power for 30 seconds, then stir thoroughly. Continue heating in 15-second intervals, stirring after each interval, until the chocolate is completely melted.
Short heating intervals are important when melting chocolate because chocolate can become overheated easily. Stirring between intervals distributes the heat and helps the remaining pieces melt without requiring excessive microwave time. The chocolate should become smooth and fluid rather than extremely hot. Taking your time during this stage makes the final coating much easier to work with.
If you prefer not to use a microwave, chocolate can also be melted on the stovetop using a heatproof bowl positioned over a small saucepan containing simmering water. Keep the heat low and stir the chocolate gently until it melts. Make sure the chocolate does not come into contact with water or steam. Even a small amount of water can affect melted chocolate and make its texture difficult to work with.
How to Temper the Chocolate
Once the first two-thirds of the chocolate has melted, add the remaining one-third and continue stirring until everything is completely melted. This simple process is a basic form of chocolate tempering. Tempering helps the chocolate develop a smoother appearance and allows the finished coating to set with a pleasant firmness.
Properly tempered chocolate can give homemade candy bars a glossy finish and a satisfying snap when broken. It also makes the chocolate coating feel more polished and professional. While the process may sound complicated, this version is straightforward because the remaining chocolate is added directly to the melted chocolate and stirred until fully incorporated.

Coating the Homemade Bounty Bars
When the coconut rectangles are chilled and the chocolate is ready, it is time to coat the bars. Remove the coconut centers from the freezer. If you want to work at a relaxed pace, take out only one rectangle at a time and keep the remaining pieces chilled until you are ready for them.
Using two forks, place one coconut rectangle into the melted chocolate. Roll it carefully so that the chocolate covers the entire surface. The forks make it easier to turn the bar without piercing or damaging the soft coconut center. Once the bar is fully covered, lift it from the chocolate with one fork. Use the second fork to gently remove excess chocolate before transferring the coated bar to a parchment-lined baking sheet.
Continue the process with the remaining coconut rectangles. Try to work steadily without leaving the coconut centers in the warm chocolate for longer than necessary. If the coconut mixture begins to soften during the dipping process, simply return the remaining pieces to the freezer for a short time before continuing.
Let the Chocolate Set
After all the coconut bars have been covered with chocolate, leave them on the parchment-lined baking sheet until the coating has completely set. The exact setting time depends on the temperature of your kitchen and the surrounding environment. A cooler room will generally help the chocolate firm up more quickly, while a warm kitchen may require additional time.
Once the chocolate coating has hardened, the homemade Bounty Bars are ready to serve. The finished candy should have a firm chocolate exterior with a soft, sweet coconut center. For the best texture, allow the coating to fully set before moving or stacking the bars. This helps prevent the chocolate from smearing or sticking.
Notes for Better Homemade Bounty Bars
The most important preparation tip is to press the coconut mixture firmly when shaping the rectangles. A tightly packed center is less likely to break apart during chocolate dipping. Keeping your hands slightly damp can also make shaping easier because the sticky coconut mixture will not cling to your fingers as much. Work with small batches and return the coconut centers to the freezer whenever they become too soft.
Another useful point is to avoid rushing the chocolate-melting process. Chocolate responds better to gentle, controlled heating than to high temperatures. Stir frequently and use short microwave intervals if you are using a microwave. When using a double-boiler method, keep water and steam away from the chocolate. These simple precautions help you achieve a smooth coating that looks attractive once it sets.

How to Serve Homemade Bounty Bars
These chocolate coconut bars can be served as an afternoon snack, after-dinner dessert, party treat, or homemade sweet. They are also a fun option when you want to prepare something that looks more complicated than it actually is. Arrange the finished bars on a serving plate or place them into small individual wrappers for a homemade candy presentation.
Because the recipe produces individual bars, it is easy to portion them for sharing. They can also be prepared ahead of time and allowed to set before serving. The combination of sweet coconut and semisweet chocolate makes them suitable for anyone who enjoys classic chocolate-and-coconut desserts.
Bounty Bars or Mounds-Style Bars
The choice of chocolate can change the overall character of these homemade candy bars. A milk chocolate coating creates a sweeter and creamier result that is closer to the familiar Bounty-style flavor. Dark chocolate creates a richer, stronger chocolate profile that pairs especially well with the sweet coconut center and is often associated with Mounds-style candy.
The coconut filling remains the same, so there is no need to change the preparation method. Simply choose the chocolate style that best matches the flavor you prefer. This flexibility makes the recipe useful for different tastes while maintaining its easy three-ingredient approach.

Bounty bars
 Recipe by admin1
These Homemade Bounty Bars are easy no-bake chocolate coconut bars made with just three ingredients.
12
servings1
hour440
kcal1
hourIngredients
3 cups unsweetened shredded coconut
1 cup sweetened condensed milk
15 oz semisweet chocolate
Directions
- In a medium bowl, combine the unsweetened shredded coconut and sweetened condensed milk. Stir until the ingredients form a thick, sticky paste.
- Using your hands, shape portions of the coconut mixture into rectangular bars. Press each piece firmly so it holds its shape. After forming three or four bars, wash your hands and leave them slightly damp to reduce sticking.
- Arrange the coconut rectangles on a baking sheet covered with parchment paper. Place the tray in the freezer for approximately 20 minutes to firm the coconut centers.
- Meanwhile, cut the semisweet chocolate into pieces. Place two-thirds of the chocolate into a microwave-safe bowl.
- Microwave the chocolate on medium power for 30 seconds. Stir well, then continue heating in 15-second intervals, stirring after each interval, until the chocolate has completely melted.
- Alternatively, place a heatproof bowl over a small saucepan containing simmering water. Melt the chocolate gently over low heat, stirring until smooth. Make sure the chocolate does not come into contact with water or steam.
- Add the remaining one-third of the chocolate to the melted chocolate. Stir continuously until the additional chocolate has completely melted. This helps temper the chocolate and gives the coating a glossy finish and a firm texture once set.
- Remove the coconut rectangles from the freezer. Using two forks, place one rectangle into the melted chocolate and carefully roll it until every side is coated.
- Lift the chocolate-covered bar from the bowl using one fork. Use the second fork to remove excess chocolate, then transfer the bar to a parchment-lined baking sheet.
- Repeat the dipping process with the remaining coconut rectangles. Keep the bars chilled until you are ready to coat them if the coconut mixture becomes too soft.
- Allow the chocolate coating to set completely. Depending on the temperature of your kitchen, this may take several hours.
- Once the chocolate has hardened, your homemade Bounty Bars are ready to enjoy.
Nutrition Facts
- Total number of serves: 1
- Calories: 440kcal
- Fat: 30g
- Carbohydrates: 37g
- Fiber: 6g
- Sugar: 28g
- Protein: 5g


