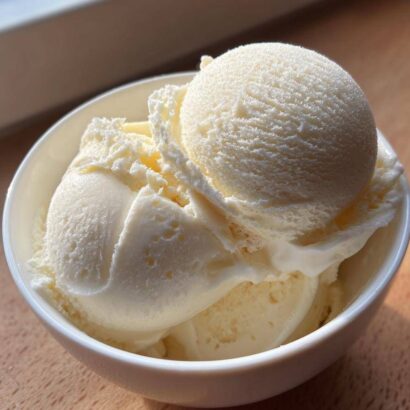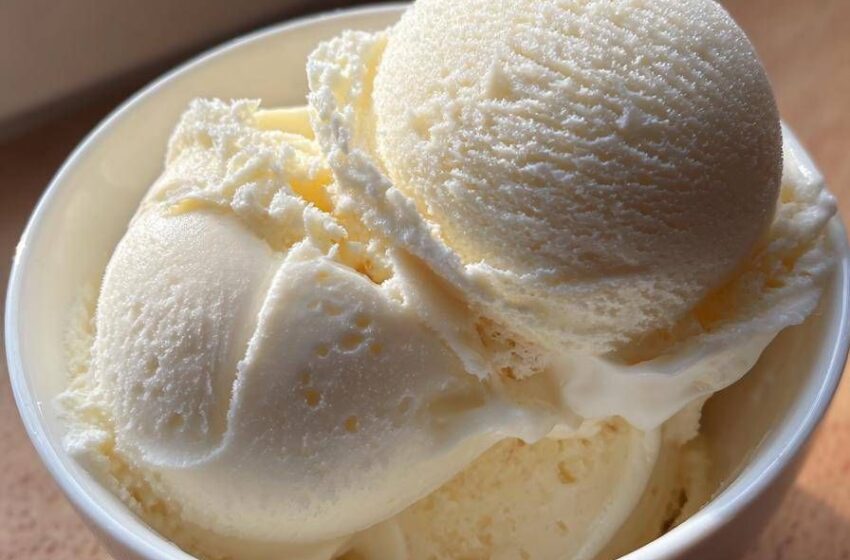
Homemade Vanilla Ice Cream
Homemade vanilla ice cream is one of the most classic frozen desserts in the world. It is creamy, smooth, rich, fragrant with vanilla flavor, and made from simple ingredients that are available in most kitchens. Making ice cream at home allows complete control over texture, sweetness, richness, and flavor quality. A carefully prepared homemade vanilla ice cream can taste far better than many commercial brands because it contains fresh dairy, real vanilla, and no unnecessary stabilizers or artificial flavors.
This extremely detailed recipe explains every stage of the process from selecting ingredients to churning, freezing, storing, troubleshooting, serving, and creating variations. Even beginners can achieve professional-quality results by following each section carefully.
Table of Contents
- Introduction to Vanilla Ice Cream
- Understanding the Ingredients
- Equipment Needed
- Ingredient Measurements
- Choosing the Best Vanilla
- Preparing the Ice Cream Base
- Making the Custard
- Cooking Temperatures and Timing
- Chilling the Mixture
- Churning the Ice Cream
- Freezing and Ripening
- Texture Science
- Troubleshooting Common Problems
- Storage Instructions
- Serving Suggestions
- Flavor Variations
- Healthier Alternatives
- Large Batch Instructions
- Professional Tips
- Frequently Asked Questions
- Full Step-by-Step Recipe
- Final Notes
1. Introduction to Vanilla Ice Cream
Vanilla ice cream is often considered the foundation of all ice cream recipes. Although it appears simple, creating perfect vanilla ice cream requires balance between fat, sugar, water, and air. The texture should be creamy rather than icy, smooth rather than grainy, and rich without feeling greasy.
Traditional homemade vanilla ice cream usually falls into two categories:
- Philadelphia-style ice cream
- Made without eggs
- Lighter texture
- Cleaner milk and vanilla flavor
- French-style custard ice cream
- Made with egg yolks
- Richer and creamier
- Smooth luxurious texture
This recipe focuses mainly on the French-style custard method because it creates the richest and most professional result.
2. Understanding the Ingredients
Every ingredient has an important role.
Milk
Whole milk provides water, protein, and some fat. The proteins help improve structure and creaminess.
Heavy Cream
Heavy cream contains a high percentage of milk fat. Fat creates richness, smooth texture, and luxurious mouthfeel.
Sugar
Sugar sweetens the ice cream but also prevents it from freezing too hard. Proper sugar balance keeps the texture scoopable.
Egg Yolks
Egg yolks contain emulsifiers and fat that improve creaminess and stability. They help bind water and fat together smoothly.
Vanilla
Vanilla is the star flavor. Real vanilla creates warmth, sweetness, floral notes, and deep aroma.
Salt
A tiny amount of salt enhances sweetness and improves flavor complexity.
3. Equipment Needed
The following tools are helpful:
- Medium saucepan
- Whisk
- Mixing bowls
- Fine mesh strainer
- Wooden spoon or silicone spatula
- Thermometer
- Ice cream maker
- Freezer-safe container
- Plastic wrap or airtight lid
Optional professional tools:
- Instant-read thermometer
- Digital kitchen scale
- Ice bath container
- Blender for ultra-smooth texture
4. Ingredient Measurements
Standard Batch
Makes approximately 1.5 liters of ice cream.
Ingredients
- 2 cups whole milk
- 2 cups heavy cream
- 3/4 cup granulated sugar
- 1 tablespoon pure vanilla extract
- 1 vanilla bean
- 6 large egg yolks
- 1/4 teaspoon salt
5. Choosing the Best Vanilla
Different vanilla products produce different flavor profiles.
Vanilla Extract
Good-quality pure vanilla extract provides strong classic flavor.
Vanilla Beans
Vanilla beans contain tiny aromatic seeds that create beautiful flavor and appearance.
Vanilla Bean Paste
Vanilla bean paste combines extract and seeds for concentrated flavor.
Types of Vanilla Beans
Madagascar Vanilla
Rich, creamy, classic flavor.
Tahitian Vanilla
Floral and fruity notes.
Mexican Vanilla
Warm and spicy flavor.
For traditional ice cream, Madagascar vanilla is often preferred.
6. Preparing the Ice Cream Base
The ice cream base is the liquid mixture before freezing.
Step 1: Split the Vanilla Bean
Place the vanilla bean on a cutting board and slice it lengthwise using a sharp knife. Scrape out the tiny seeds.
Both seeds and pod should be used because the pod contains additional flavor.
Step 2: Combine Dairy
In a saucepan combine:
- Whole milk
- Heavy cream
- Half of the sugar
- Vanilla seeds
- Vanilla pod
- Salt
Heat gently over medium heat.
Do not boil.
The mixture should become steaming hot but not bubbling aggressively.
7. Making the Custard
Custard is the heart of rich ice cream.
Step 1: Whisk Egg Yolks
In a separate bowl whisk:
- Egg yolks
- Remaining sugar
Whisk until the mixture becomes pale yellow and slightly thickened.
Step 2: Temper the Eggs
Tempering prevents scrambled eggs.
Slowly pour a small amount of the hot milk mixture into the egg yolks while whisking continuously.
Continue adding more hot liquid gradually.
Step 3: Return to Saucepan
Pour the tempered egg mixture back into the saucepan.
Cook over low heat while stirring constantly.
Use a wooden spoon or silicone spatula.
The custard is ready when it thickens enough to coat the back of a spoon.
8. Cooking Temperatures and Timing
Custard temperature is extremely important.
Ideal custard temperature:
82∘C to 85∘C
If the temperature becomes too high, eggs may curdle.
Signs of properly cooked custard:
- Slightly thick texture
- Smooth appearance
- Steam rising gently
- Finger swiped across spoon leaves clean line
9. Chilling the Mixture
Fast chilling improves texture and food safety.
Ice Bath Method
Place the hot saucepan into a bowl filled with ice water.
Stir occasionally until cool.
Refrigeration
Cover the mixture and refrigerate for at least:
4 to 24 hours
Longer chilling develops deeper flavor and better texture.
This stage is called aging the base.
10. Churning the Ice Cream
Churning incorporates air while freezing.
Why Churning Matters
Without churning, ice cream becomes icy and dense.
The machine continuously scrapes frozen layers while mixing air into the base.
Ice Cream Maker Types
Bowl Freezer Machines
Require pre-frozen bowls.
Compressor Machines
Freeze automatically during churning.
Hand-Crank Machines
Traditional style using ice and salt.
11. Freezing and Ripening
Freshly churned ice cream resembles soft serve.
For firmer texture:
- Transfer to freezer-safe container
- Press plastic wrap directly onto surface
- Freeze several hours
Ideal ripening time:
4 to 8 hours
12. Texture Science
Perfect texture depends on science.
Fat
Fat reduces iciness and increases creaminess.
Sugar
Sugar lowers freezing point.
Air
Air makes ice cream lighter.
Ice Crystals
Smaller crystals create smoother texture.
Rapid freezing helps minimize crystal size.
13. Troubleshooting Common Problems
Ice Cream Too Hard
Possible causes:
- Too little sugar
- Freezer too cold
- Insufficient fat
Solutions:
- Add more sugar next time
- Let sit at room temperature before scooping
Grainy Texture
Possible causes:
- Overcooked eggs
- Poor mixing
Solution:
- Strain custard carefully
Ice Cream Too Soft
Possible causes:
- Too much sugar
- Insufficient freezing
Icy Texture
Possible causes:
- Too much water
- Slow freezing
- Poor storage
14. Storage Instructions
Proper storage maintains quality.
Best Container
Use airtight shallow containers.
Preventing Freezer Burn
Press plastic wrap directly against the surface.
Storage Time
Best flavor and texture within:
1 to 2 weeks
Although safe longer, quality slowly declines.
15. Serving Suggestions
Vanilla ice cream pairs beautifully with many desserts.
Popular Pairings
- Apple pie
- Brownies
- Chocolate cake
- Fruit cobbler
- Pancakes
- Waffles
Sauces
- Chocolate sauce
- Caramel sauce
- Berry sauce
- Honey
Toppings
- Roasted nuts
- Sprinkles
- Cookie crumbs
- Fresh fruit
16. Flavor Variations
Vanilla Bean Deluxe
Add extra vanilla bean paste.
Honey Vanilla
Replace part of sugar with honey.
Bourbon Vanilla
Add small amount of bourbon for depth.
Coffee Vanilla
Infuse coffee beans into dairy before straining.
Cinnamon Vanilla
Add cinnamon stick during heating.
17. Healthier Alternatives
Lower Sugar Version
Reduce sugar slightly but not excessively.
Lighter Version
Use half-and-half instead of heavy cream.
Dairy-Free Version
Use:
- Coconut milk
- Almond milk
- Cashew cream
Egg-Free Version
Use cornstarch as thickener.
18. Large Batch Instructions
For parties or restaurants, ingredients can be doubled or tripled.
Maintain the same ratios.
Larger batches may require longer chilling and freezing times.
19. Professional Tips
Tip 1
Always chill the base completely before churning.
Tip 2
Use high-fat dairy for creamier texture.
Tip 3
Avoid excessive air exposure during storage.
Tip 4
Use real vanilla instead of imitation flavoring.
Tip 5
Clean equipment carefully to avoid contamination.
20. Frequently Asked Questions
Can I make ice cream without a machine?
Yes.
Freeze mixture in shallow pan and stir every 30 minutes until creamy.
Why use egg yolks?
They improve richness and smoothness.
Can I reduce sugar?
Yes, but too little sugar creates hard icy texture.
Why is my ice cream icy?
Usually due to large ice crystals from slow freezing or excess water.
Can I use low-fat milk?
Yes, but texture will be less creamy.
21. Full Step-by-Step Recipe
Ingredients
- 2 cups whole milk
- 2 cups heavy cream
- 3/4 cup sugar
- 6 egg yolks
- 1 vanilla bean
- 1 tablespoon vanilla extract
- 1/4 teaspoon salt
Detailed Instructions
Step 1
Pour milk and cream into saucepan.
Step 2
Add half the sugar and salt.
Step 3
Split vanilla bean and scrape seeds into mixture.
Step 4
Heat gently until steaming.
Step 5
Whisk egg yolks with remaining sugar.
Step 6
Slowly temper eggs using hot dairy mixture.
Step 7
Return mixture to saucepan.
Step 8
Cook slowly while stirring constantly.
Step 9
Heat until custard thickens.
Step 10
Strain through fine mesh sieve.
Step 11
Add vanilla extract.
Step 12
Cool over ice bath.
Step 13
Refrigerate several hours.
Step 14
Churn in ice cream maker.
Step 15
Transfer to container.
Step 16
Freeze until firm.
Step 17
Serve and enjoy.
22. Final Notes
Homemade vanilla ice cream rewards patience and attention to detail. Although the process may seem long, every stage contributes to flavor and texture. Real vanilla, proper custard preparation, slow chilling, and careful freezing create a dessert that is rich, creamy, aromatic, and deeply satisfying.
With practice, homemade ice cream becomes easier and more customizable. Once the basic vanilla recipe is mastered, countless flavors and combinations become possible. Vanilla ice cream can remain beautifully simple on its own or serve as the foundation for many advanced frozen desserts.
A carefully made homemade vanilla ice cream is not only a dessert but also a demonstration of culinary craftsmanship, balancing science, flavor, texture, temperature, and technique into one timeless frozen creation